Word 2010 -
Printing
Introduction
To view the Print pane:
- Click the File tab to go to Backstage view.
- Select Print. The Print pane appears, with the print settings on the left and the Preview on the right.
Click the buttons in the interactive below to learn about the Print pane.

To print:
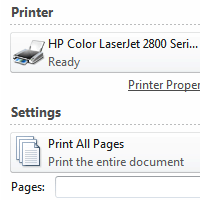
- Go to the Print pane.
- If you only want to print certain pages, you can type a range of pages. Otherwise, select Print All Pages.
- Select the number of copies.
- Check the Collate box if you are printing multiple copies of a multi-page document.
- Select a printer from the drop-down list.
- Click the Print button.
Quick Print
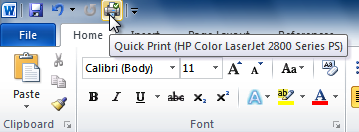
There may be times when you want to print something with a single click using Quick Print. This feature prints the document using the default settings and the default printer. To use this feature in Word 2010, you'll need to add it to the Quick Access toolbar.
Quick Print always prints the entire document, so if you only want to print part of your document you'll have to use the Print pane.
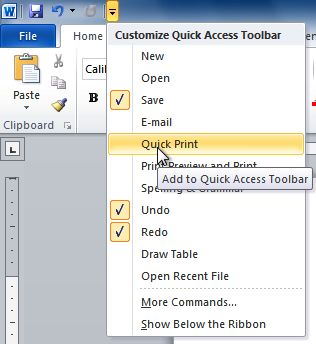
To access the Quick Print button:
- Click the drop-down arrow on the right side of the Quick Access toolbar.
- Select Quick Print if it is not already checked.
- To print, click the Quick Print command.
Challenge!
- Open an existing Word document. If you want, you can use this example.
- Preview the document in the Print pane.
- Print two copies of the document.
No comments:
Post a Comment