Reviewing Documents
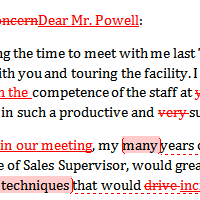
The color of the markups will vary depending on who is reviewing the document, so if there are multiple reviewers you'll be able to tell at a glance who made each change.
How To turn on Track Changes:
- Click the Review tab.
- Click the Track Changes command. It should now be highlighted in gold to show that it is active.
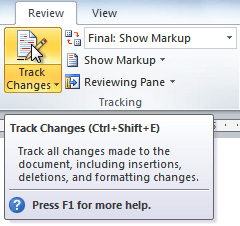
- Any changes you make to the document will be shown as colored markups.

- Click the Track Changes command again to turn it off.
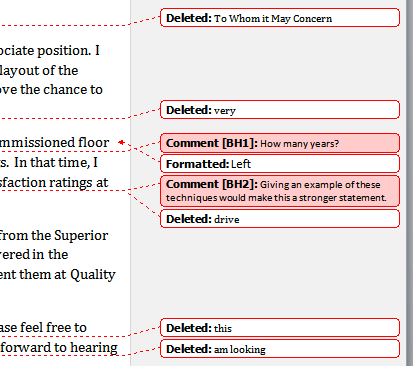
Adding and deleting comments
Sometimes instead of changing something, you may want to make a comment about part of the document. Comments show up in balloons in the right margin and can be read by the original author or by any other reviewers.
How To add a comment:
- Highlight some text, or place the insertion point where you want the comment to appear.
- From the Review tab, click the New Comment command.
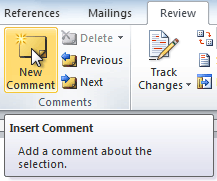
- Type your comment.

How To delete a comment:
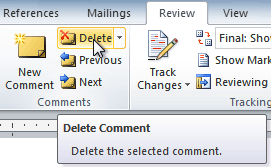
- Select the balloon containing the comment you want to delete.

- From the Review tab, click the Delete command.
How To delete all comments:
- From the Review tab, click the Delete drop-down arrow.
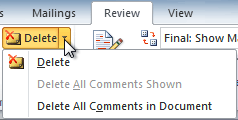
- Click Delete All Comments in Document.
Accepting and rejecting changes
Tracked changes are really just suggested changes. To become permanent, they have to be accepted. On the other hand, the original author may disagree with some of the tracked changes and choose to reject them.
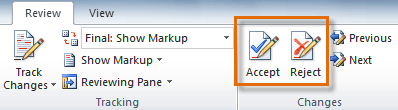
How To accept or reject changes:
- Select the change you want to accept or reject.

- From the Review tab, click the Accept or Reject command.
- If you accepted the change, the markup will disappear, and the text will look normal.
For some tracked changes, you can reject the changes by deleting them as if they were normal text. For example, if a reviewer adds a word to a sentence, you can just delete the word.
How To accept all changes:
- From the Review tab, click the Accept drop-down arrow. A drop-down menu will appear.
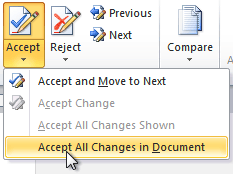
- Select Accept All Changes in Document.
How To reject all changes:
- From the Review tab, click the Reject drop-down arrow. A drop-down menu will appear.
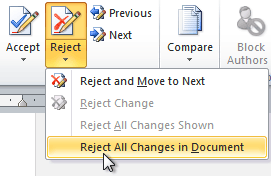
- Select Reject All Changes in Document.
Accepting or rejecting all changes does not affect comments, so if you want to delete them you'll have to do so separately.
Changing how markups appear
If there are a lot of tracked changes in a document, they can become distracting if you're trying to read through the document. There are a few settings you can use to hide the markups or change how they appear.
How To hide tracked changes:
- From the Review tab, click the Display for Review
command. The Display for Review command is located to the right of the
Track Changes command, and it may not be labeled. It will probably say Final:Show Markup.

- In the drop-down menu, there are four options:
- Final: Show Markup: Shows the final version along with the markup
- Final: Shows the final version and hides all markups
- Original: Show Markup: Shows the original version along with the markup
- Original: Shows the original version and hides all markups
- Choose Final or Original from the drop-down menu to hide markups.

Setting Display for Review to Final is not the same as accepting all changes. You will still need to accept or reject the changes before sending the final version of your document.
How To show revisions in balloons:
- From the Review tab, click Show Markup
 BalloonsShow Revisions in Balloons.
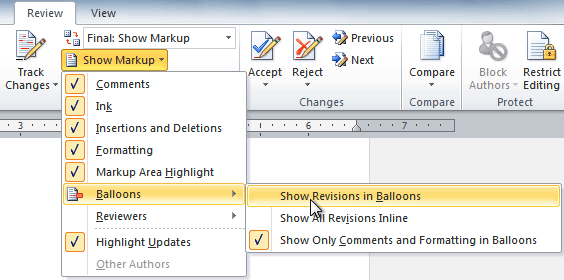
- Some of the revisions will move to the right margin.
To go back to inline markups, you can select either Show All Revisions Inline or Show Only Comments and Formatting in Balloons.
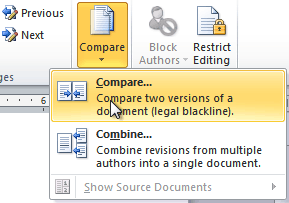
How To compare two documents:
- From the Review tab, click the Compare command. A drop-down menu will appear.
- From the drop-down menu, click Compare.
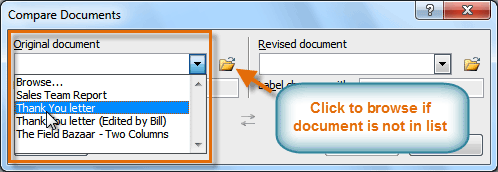
- A dialog box will appear. Choose your Original document by clicking the drop-down arrow and selecting the document from the list. If your document is not on the list, click the Browse button to browse for the file.
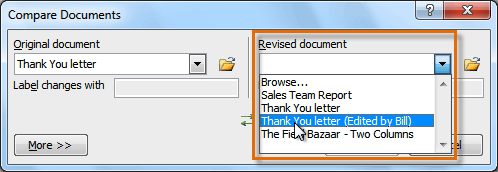
- Choose the Revised document the same way you chose the Original document, then click OK.
At this point, Word compares the two documents to determine which changes were made, and it creates a new document that you can save if you want. The changes show up as colored markups, just like the ones that appear when using Track Changes. You can then use the Accept and Reject commands to finalize the document.
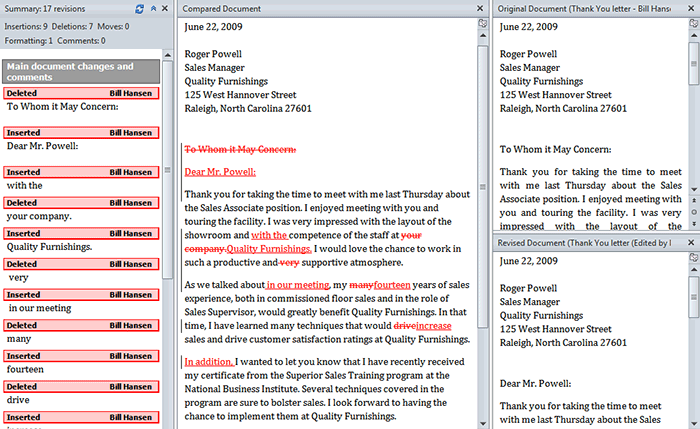
To the right of the new document, there's a pane
that displays the original and revised documents that you can use for
reference (although you can't edit them). If you don't see the pane on
the right, click CompareShow Source DocumentsShow Both.
How To use the Document Inspector:
- Save your document.
- Click the File tab to go to Backstage view.
- Select Info on the left side of the page.
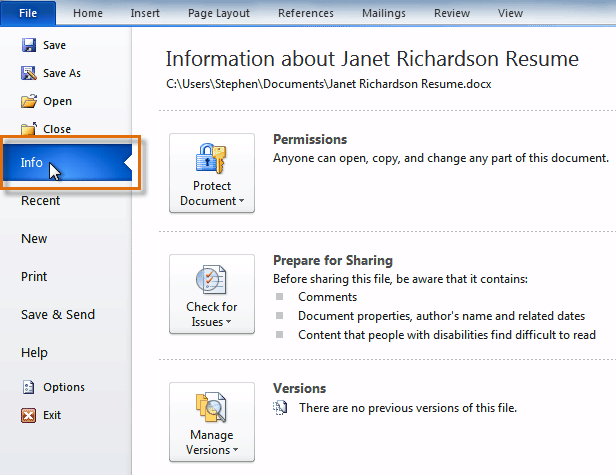
- Click the Check for Issues command. A drop-down menu will appear.
- Select Inspect Document.

- Click Inspect.

- The inspection results will show an exclamation mark for any categories where it found potentially sensitive data, and it will also have a Remove All button for each of these categories. Click Remove All to remove the data.
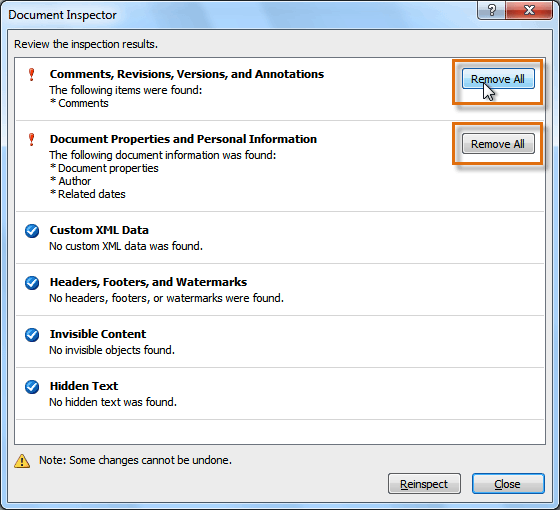
- Close the dialog box when you're done.
- From Backstage view, click Save to make the changes permanent.
Challenge!
- Open an existing Word document. If you want, you can use this example.
- Turn on Track Changes.
- Delete some text.
- Add some text.
- Change some of the text formatting.
- Experiment with the Display for Review command.
- Accept all of the changes.
- Use the Document Inspector to check the document.
No comments:
Post a Comment