Introduction
You will need to know the basic ways you can work with cells and cell content in Excel to be able to use it to calculate, analyze, and organize data. In this lesson, you will learn how to select cells, insert content, and delete cells and cell content. You will also learn how to cut, copy, and paste cells; drag and drop cells; and fill cells using the fill handle.
The cell
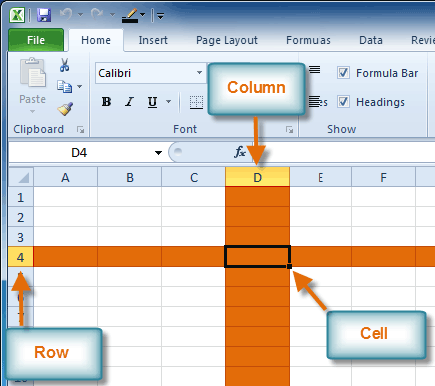
Each rectangle in a worksheet is called a cell. A cell is the intersection of a row and a column.
To select a cell:
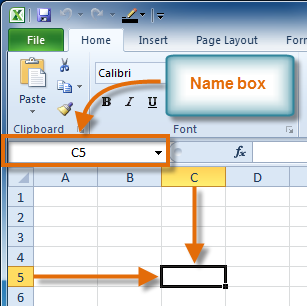
- Click a cell to select it. When a cell is selected, you will notice that the borders of the cell appear bold
 and the column heading and row heading of the cell are highlighted.
 - Release your mouse. The cell will stay selected until you click another cell in the worksheet.
You can also navigate your worksheet and select a cell by using the arrow keys on your keyboard.
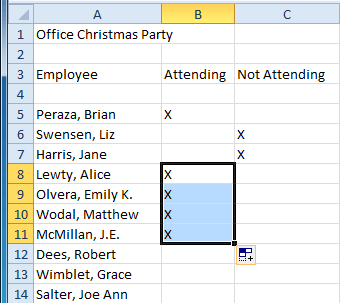
To select multiple cells:
- Click and drag your mouse until all of the adjoining cells you want are highlighted.
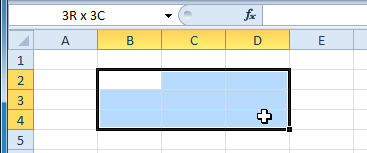
- Release your mouse. The cells will stay selected until you click another cell in the worksheet.
Cell content
Each cell can contain its own text, formatting, comments, formulas, and functions.
- Text
Cells can contain letters, numbers, and dates. - Formatting attributes
Cells can contain formatting attributes that change the way letters, numbers, and dates are displayed. For example, dates can be formatted as MM/DD/YYYY or M/D/YYYY. - Comments
Cells can contain comments from multiple reviewers. - Formulas and functions
Cells can contain formulas and functions that calculate cell values. For example, SUM(cell 1, cell 2...) is a formula that can add the values in multiple cells.
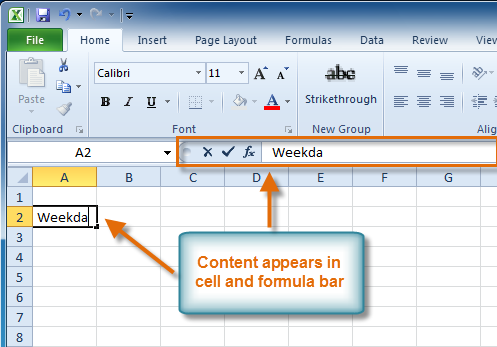
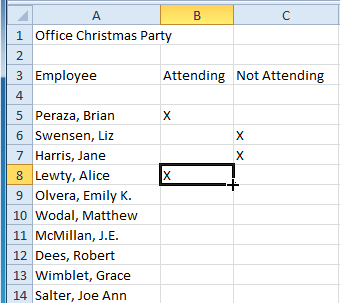
To insert content:
- Click a cell to select it.
- Enter content into the selected cell using your keyboard. The content appears in the cell and in the formula bar. You can also enter or edit cell content from the formula bar.
To delete content within cells:
- Select the cells containing content you want to delete.
- Click the Clear command on the Ribbon. A dialog box will appear.
- Select Clear Contents.
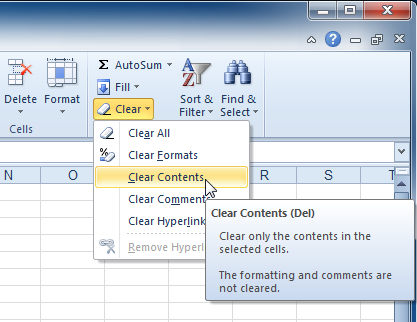
You can also use your keyboard's Backspace key to delete content from a single cell or the Delete key to delete content from multiple cells.
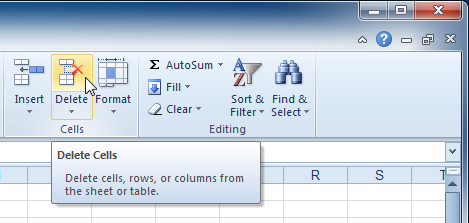
To delete cells:
- Select the cells you want to delete.
- Choose the Delete command from the Ribbon.
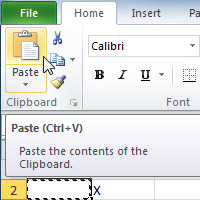
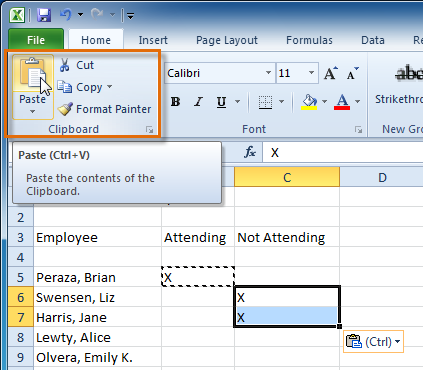
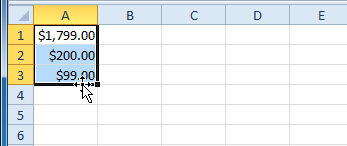
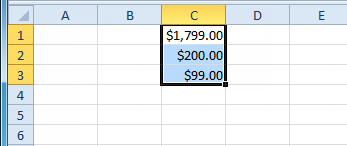
To copy and paste cell content:
- Select the cells you want to copy.
- Click the Copy command. The border of the selected cells will change appearance.
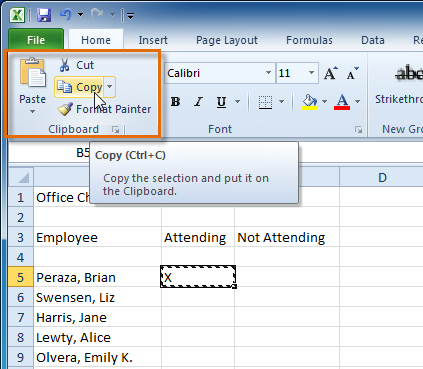
- Select the cell or cells where you want to paste the content.
- Click the Paste command. The copied content will be entered into the highlighted cells.
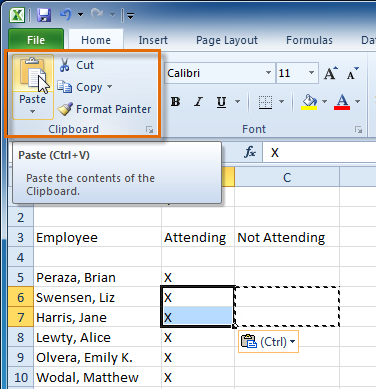
To cut and paste cell content:
- Select the cells you want to cut.
- Click the Cut command. The border of the selected cells will change appearance.
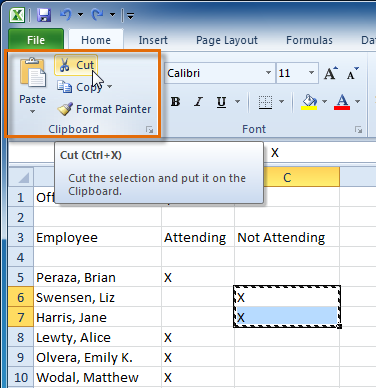
- Select the cells where you want to paste the content.
- Click the Paste command. The cut content will be removed from the original cells and entered into the highlighted cells.
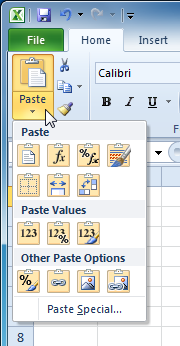
To access more paste options:
There are more Paste options you can access from the drop-down menu on the Paste command. These options may be convenient to advanced users who are working with cells that contain formulas or formatting.
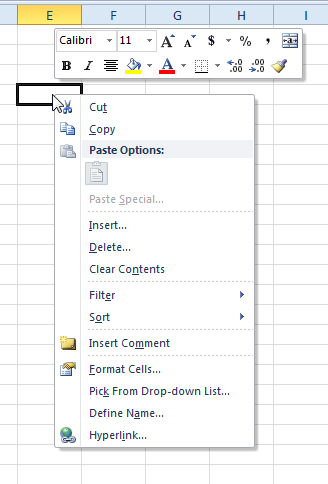
To access formatting commands by right-clicking:
- Select the cells you want to format.
- Right-click the selected cells. A dialog box will appear where you can easily access many commands on the Ribbon.
To drag and drop cells:
- Select the cells you want to move.
- Position your mouse on one of the outside edges of the selected cells. The mouse changes from a white cross
 to a black cross with 4 arrows
 .
.
- Click and drag the cells to the new location.
- Release your mouse, and the cells will be dropped there.
To use the fill handle to fill cells:
- Select the cell or cells containing the content you want to use. You can fill cell content either vertically or horizontally.
- Position your mouse over the fill handle so the white cross becomes a black cross
 .
.
- Click and drag the fill handle until all of the cells you want to fill are highlighted.
- Release the mouse, and your cells will be filled.
You can also double-click the fill handle instead of
clicking and dragging. This can be useful with larger spreadsheets,
where clicking and dragging may be awkward.
Challenge!
- Open an existing Excel 2010 workbook. If you want, you can use this example.
- Select D3, and notice how its cell address appears in the name box and its content appears in the formula bar.
- Try inserting text and numbers.
- Use the fill handle to fill in data to adjoining cells both vertically and horizontally.
- Cut cells and paste them into a different location.
- Delete a cell, and note how the content underneath it shifts up to fill its place.
- Try dragging and dropping some cells to other parts of the worksheet.
No comments:
Post a Comment