Inserting columns
Columns and column breaks can improve your document's organization and increase its readability. They also allow you to utilize all of the available space on the page.
How To add columns to a document:
- Select the text you want to format.
- Click the Page Layout tab.
- Click the Columns command. A drop-down menu will appear.
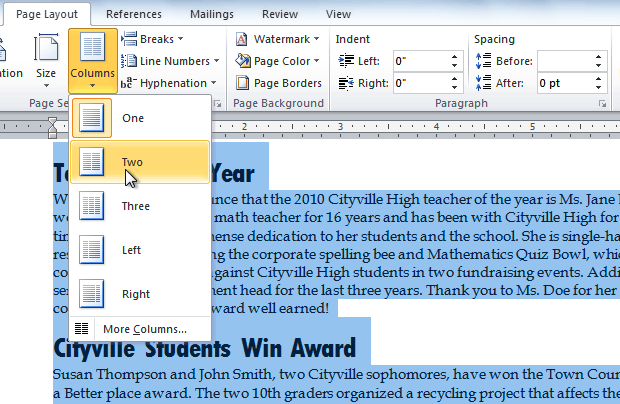
- Select the number of columns you want to insert. The text will then format into columns.
If you want to remove the columns, click the Columns command and select One for the number of columns.
Adding column breaks
Once you've created columns, the text will automatically flow from one column to the next. Sometimes, though, you might want to control exactly where each column begins. You can do this by creating column breaks.
How To add column breaks:
- Place the insertion point where you want to add the break.
- Click the Page Layout tab.
- Click the Breaks command in the Page Setup group. A drop-down menu will appear.
- Select Column from the list of break types.
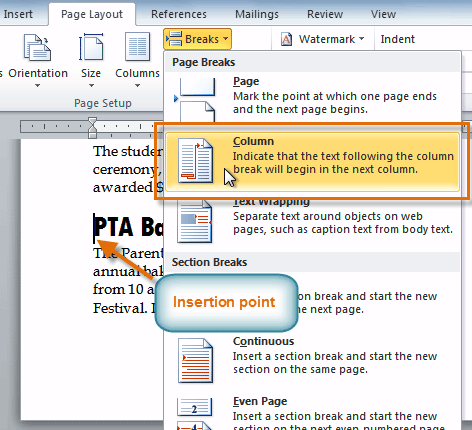
- The text will shift to reflect the column break.

Challenge!
- Open an existing Word document. If you want, you can use this example.
- Select the text you want to format into columns.
- Format the selected text into two columns.
- Add a column break.
No comments:
Post a Comment