Introduction
Are you saving a workbook for the first time? Saving it as another name? Sharing it with someone who doesn't have Excel 2010? There are many ways you share and receive workbooks, which will affect how you need to save the file.
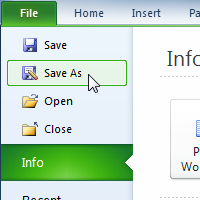
To use the Save As command:
Save As allows you to choose a name and location for your workbook. Use it if you are saving a workbook for the first time or if you want to save a different version of a workbook while keeping the original.
- Click the File tab.
- Select Save As.
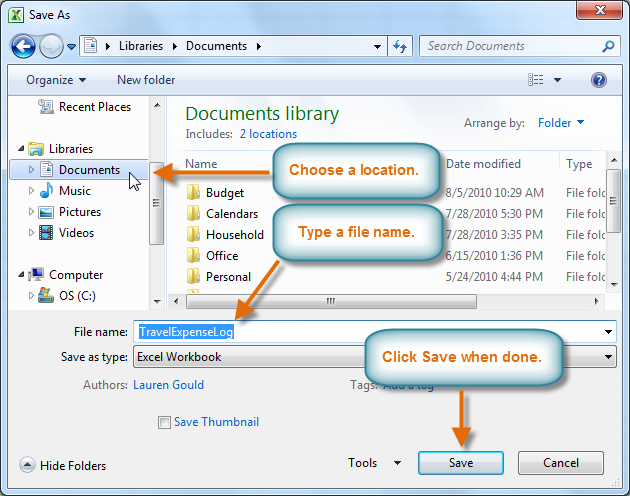
- The Save As dialog box will appear. Select the location where you want to save the workbook.
- Enter a name for the workbook, then click Save.
To use the Save command:
- Click the Save command on the Quick Access toolbar.
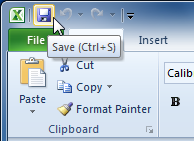
- The workbook will be saved in its current location with the same file name.
If you are saving for the first time and select Save, the Save As dialog box will appear.
To use AutoRecover:
Excel automatically saves your workbooks to a temporary folder while you're working on them. If you forget to save your changes or if Excel crashes, you can recover the autosaved file.
- Open a workbook that was previously closed without saving.
- In Backstage view, click Info.
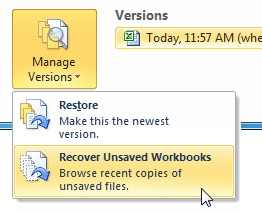
- If there are autosaved versions of your workbook, they will appear under Versions. Click the file to open it.
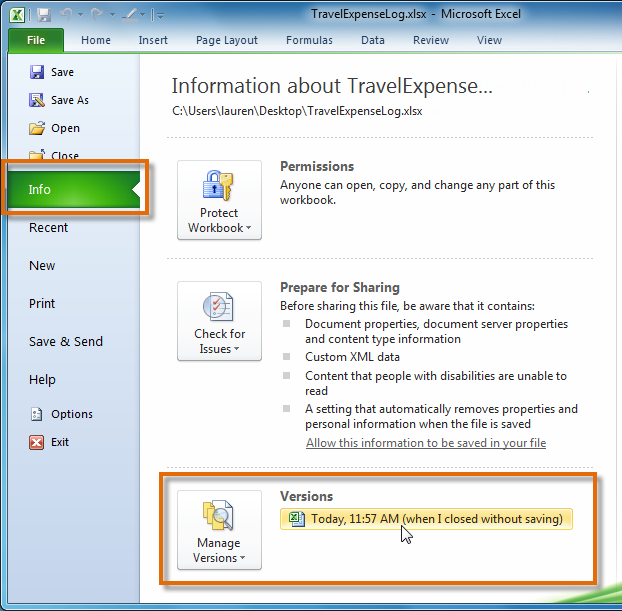
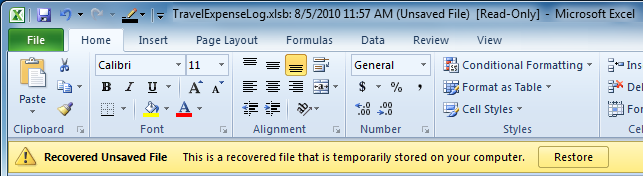
- A yellow caution note will appear on the Ribbon of the workbook. To restore this version of the workbook, click Restore, then click OK.
By default, Excel autosaves every 10 minutes. If you are editing a workbook for less than 10 minutes, Excel may not create an autosaved version.
To save as an Excel 97-2003 workbook:
- Click the File tab.
- Select Save As.
- In the Save as type drop-down menu, select Excel 97-2003 Workbook.
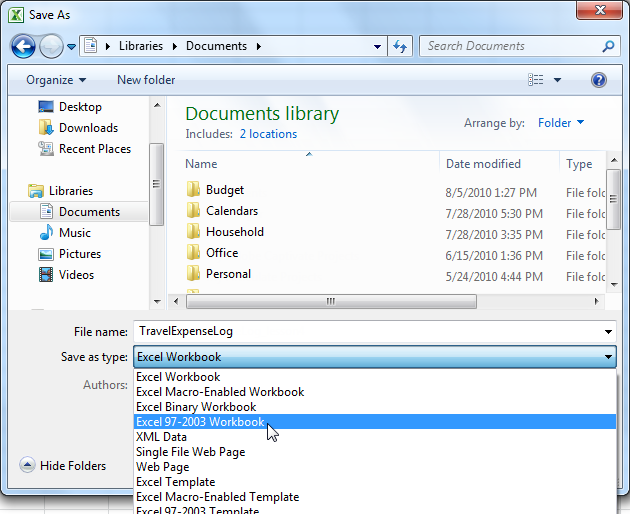
- Select the location where you want to save the file.
- Enter a name for the file, then click Save.
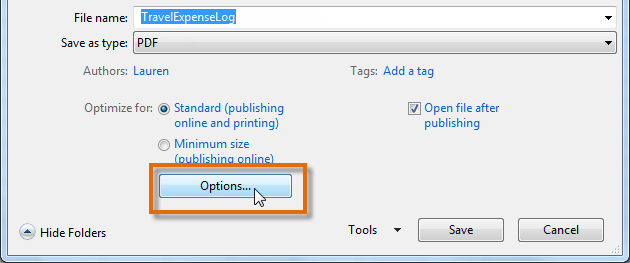
To save as a PDF:
- Click the File tab.
- Select Save As.
- In the Save as type drop-down menu, select PDF.

- Select the location where you want to save the file.
- Enter a name for the file, then click Save.
Challenge!
- Open an existing Excel 2010 workbook. If you want, you can use this example.
- Using the Save As command, save the workbook with the file name Trial.
- Save the workbook as a PDF file.
- Close the workbook.
- Open another existing Excel 2010 workbook.
- Save the workbook so it is compatible with Excel 2003.
- Close the workbook.
No comments:
Post a Comment